A Clear Step-by-Step Look at the Process, Timeline, and Final Results
If you are planning acoustic ceiling installation, you can expect noise, light dust, and steady progress over one to three days, depending on room size. The crew will prep the space, install a grid system, place ceiling tiles or panels, and clean up before they leave. The goal is to improve sound control and give the room a clean, finished look.
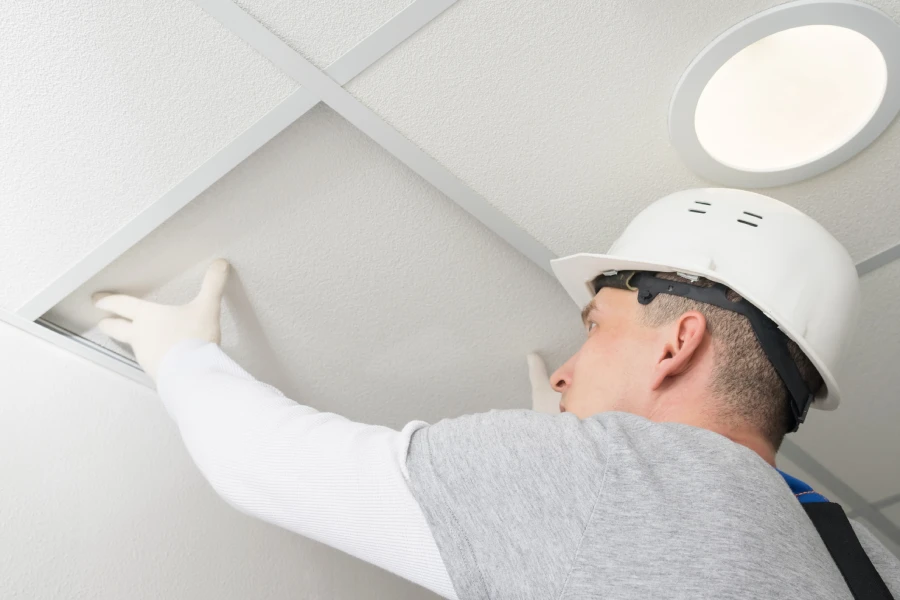
What You Need Before Work Begins
Before acoustic ceiling installation starts, the space needs to be ready. Clear furniture out of the room if possible. If large items must stay, they should be covered with plastic. Ceiling work creates dust, even with careful crews.
You should also expect:
- Access to electrical panels
- Clear floor space for ladders and scaffolding
- A plan for lighting fixtures and vents
- Approval for any required permits
If this project is part of a larger , such as a commercial remodel, timing matters. Other trades, like electrical or HVAC teams, may need to finish their work first.
Step-by-Step Process of Acoustic Ceiling Installation
Most projects follow a simple order. Here is what usually happens:
- Room prep: Floors and remaining items are covered. Old ceiling materials are removed if needed.
- Layout measurement: The crew measures the room and marks layout lines for the ceiling grid.
- Wall angle install: Metal tracks are attached around the room’s perimeter.
- Hanging wires placed: Support wires are secured to the structural ceiling above.
- Grid system installed: Main beams and cross tees form the suspended ceiling frame.
- Tiles or panels installed: Acoustic tiles are placed into the grid openings.
- Lights and vents fitted: Fixtures are installed and adjusted into the new ceiling.
- Final cleanup: Debris is removed and the space is vacuumed.
For a small office, this may take a day. A larger commercial space may take several days.
Common Mistakes to Avoid
Some property owners try to rush the process. That can create uneven grid lines or sagging tiles later. Poor measurement is one of the most common issues.
Other mistakes include:
- Not checking for hidden wiring or plumbing above the ceiling
- Using low-quality tiles in high-moisture areas
- Skipping proper support wire spacing
- Ignoring building codes
Acoustic ceiling installation must follow spacing rules for safety and durability. Cutting corners can lead to loose panels or noise problems later.

What the Space Will Look and Feel Like Afterward
Once complete, the room should feel quieter right away. Acoustic tiles help absorb echo and reduce noise transfer between rooms. This is helpful in offices, schools, medical buildings, and finished basements.
The ceiling will look level and uniform. Lighting often appears brighter because tiles reflect light evenly. You may also notice improved temperature control when insulation is added above the panels.
When to Call a Professional
While small repairs can be simple, full acoustic ceiling installation is not usually a DIY-friendly project. Large ceiling areas require precise leveling. Working overhead for long periods is also physically demanding.
You should call a professional if:
- The room is larger than a small home office
- Electrical fixtures must be moved
- You need permits or inspections
- The ceiling above has pipes or ductwork
- The building is used for business or public access
Experienced installers know how to handle spacing, load support, and clean tile cuts around light fixtures. That experience saves time and prevents rework.
Final Thoughts and Next Steps
If you are planning acoustic ceiling installation in Norfolk, VA, timing and preparation make all the difference. At Timely Results Construction, we handle layout, grid setup, tile placement, and finish work from start to end. We guide you through the process and keep the job area clean while we work. If you would like to discuss your space or schedule a visit, call us at (948) 265-3291 and our team will be ready to help.